Westlaw Australia Guide - Contact groups
Last Published: November 20, 2023
Create a contact group
Contact groups can be used to send: alerts, newsletters, reports, and share folders.
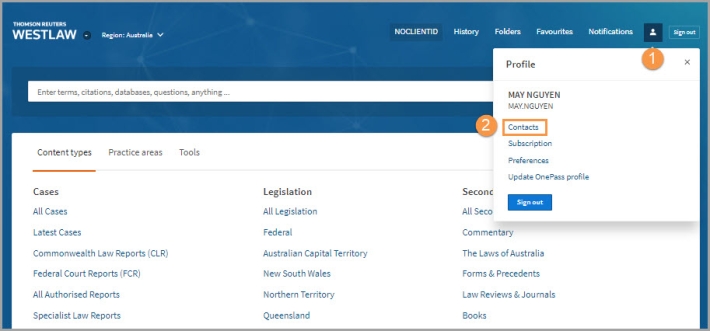
- To create a contact group, click the User Preferences icon in the top menu.
- Select Contacts from the menu.
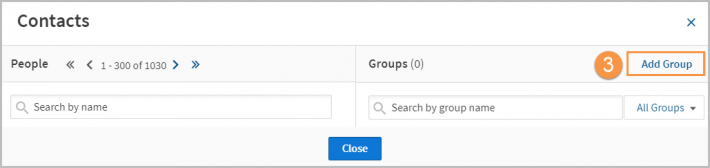
- In the pop-up window, select the Add Group button in the top-right.
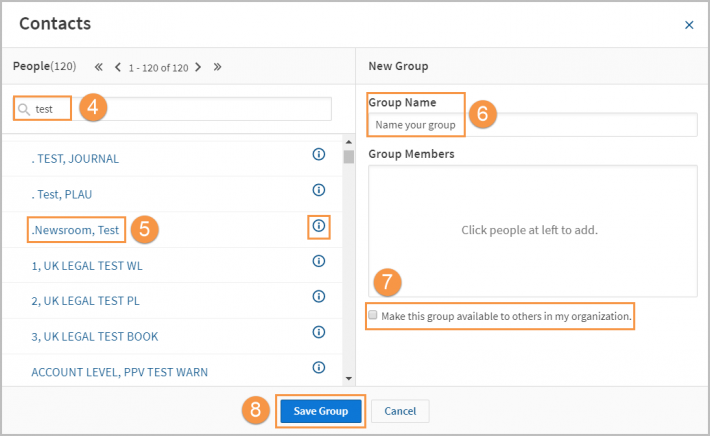
- On the left-hand side, filter your organisation's contacts by name.
- Click the person's name to add to the right-hand side.
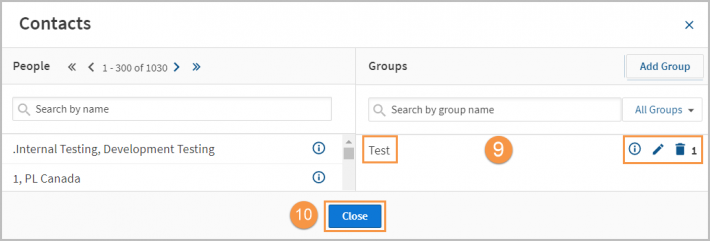
Use the information icon to see more details about the contact. - On the right-hand side, add a name for your group.
- Tick the checkbox to make the group available to others in your organisation, if you prefer.
- When all contacts are added, click Save Group.
- Your new group will show on the right-hand side of the Contacts pop-up box.
You can view members, edit, or delete the group with the options on the right-hand side. - When you are finished, click Close.
You can now send Westlaw resources to this group of people.
Create a Custom Page contact group
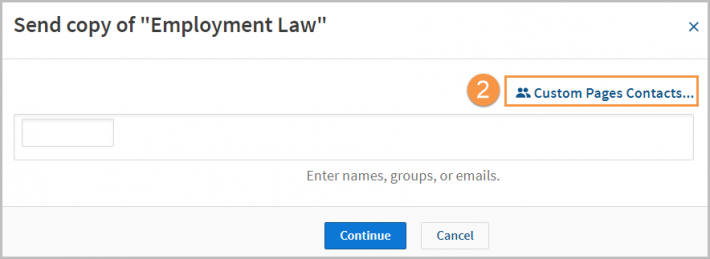
- To share your Custom Page with a group, select the Manage Page button and click Send Copy in the menu.
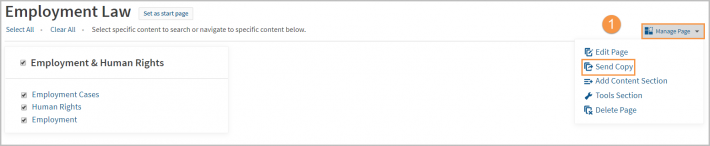
- In the top-right of the pop-up box, select Custom Pages Contacts.
- On the right-hand side, select the Add Group button.
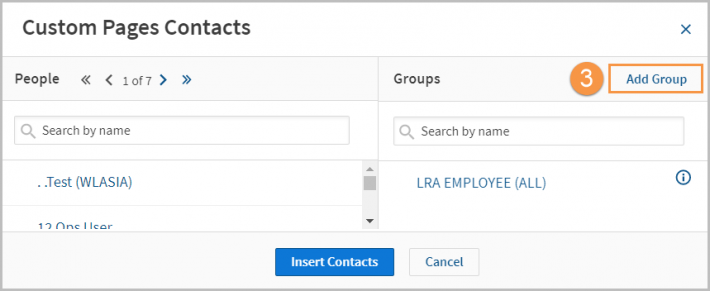
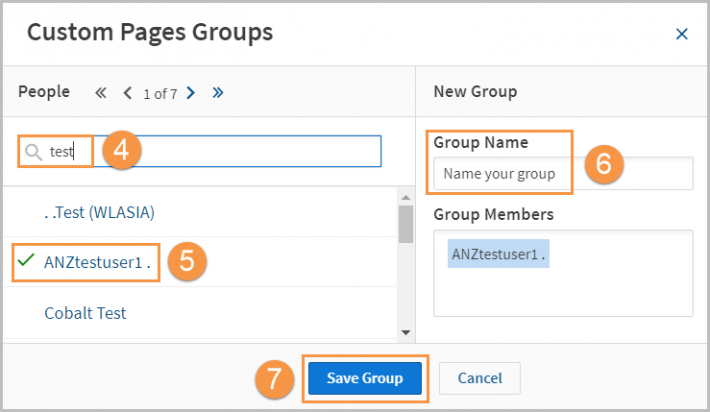
- In the People pane on the left, filter for people by typing in the search field.
- Add them to the group by selecting their name; their name will appear in the Group Members box on the right-hand pane.
- In the New Group pane on the right, add a name for your group.
- Click Save Group.
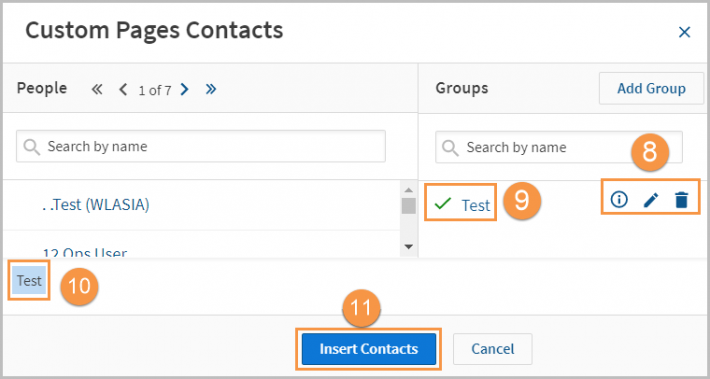
- Your new group will show in the Contacts pop-up box. You can view members, edit, or delete the group with the options on the right-hand side.
- To send the Custom Page to the group, select the group name from the Groups panel on the right.
- The group name will appear in the panel.
- Select Insert Contacts to continue and send your Custom Page.